Airtable Tutorial: Positions per company
Introduction
This is a continuation of our previous tutorial Individual company page, in this tutorial we are going to add a list of available positions related to that company.
Prerequisites
This is the 3rd tutorial of the Remote Job Board series, make sure to take a look to the previous tutorials before continuing with this one.
The Data Table
The first step is to create a data table for the position data, we are going to name it positions and type airtable.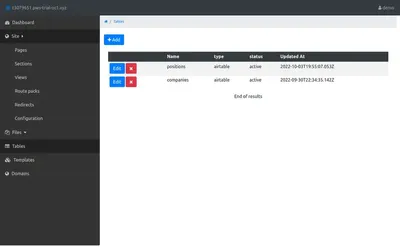
You need to provide the Key, ID, base and view for the airtable base, after you save it you will see the table data displayed on the UI.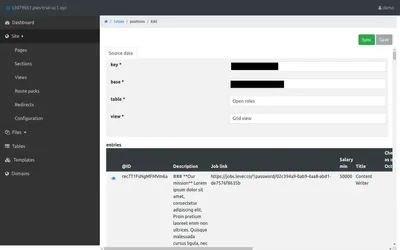
Now we will use this table to query the positions in a view using SQL.
Create a View
Now with our table ready the next thing to do is to create a view.
A view is a query + template combo to help us query data from different tables and a way to render the result using a html template.
Go to Site -> View and create a view named positions
The first step is to query the data that we are going to use in our template, you can use the integrated sql Query editor and see the results on the Execute tab, here is a image of the query for this tutorial, you can find the query here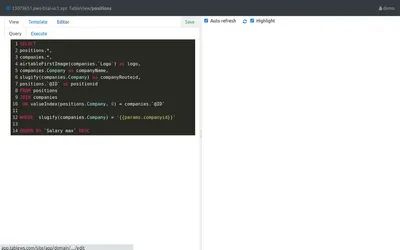
As you can see, you can use very useful SQL functionalities like the JOIN statements.
Once we have the data the next step is to render the results using a ejs template, check the ejs documentation for more details: https://ejs.co/
Here is the template for this tutorial, copy and paste it on the Html tab.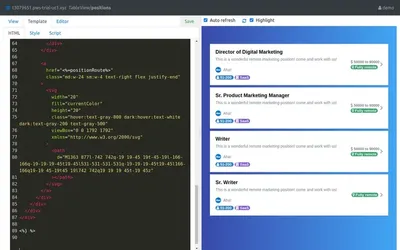
Just as with the individual company page, we are using the :companyid page parameter in order to customize the page content, you can set the parameter values on the Editor tab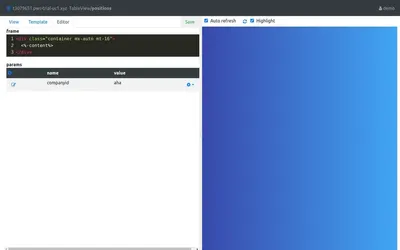
Page modifications
Now that you have the view ready all we need to do is to add it to the company page to be displayed
We are going to modify the company page that we created on the previous tutorial.
As you can see the page is using the route /company/:companyid, the view is going to use the companyid parameter to filter the positions
Next steps
Now your company page should looks something like this: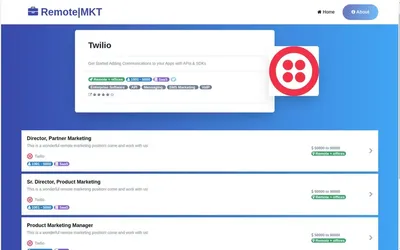
We are going to see how to add the page for the position details